They say eyebrows really can change someone’s look, and I
didn’t buy into that very much until I saw all the pictures of celebrities
without eyebrows. Yeesh! If you haven’t seen them, I highly recommend them to
you—they are totally worth the Google. Think Voldemort—that’s mostly what I was
reminded of! I have also seen a few “before and after” pics of celebrities who
have changed up their eyebrows by making them thicker, darker, etc. It’s
amazing how much it can complement their face or even change it up. I’ve always
had eyebrows, but they are naturally very thin. Even if I was to just let them
go wild, they wouldn’t get very thick at all. I pluck once every other week
just the stray hairs that are really outside of my natural brow. I don’t need to get them threaded or waxed
ever. One time, when wandering around the mall, I decided to stop in and have
my eyebrows threaded. I settled back into the chair, the lady came close to my
face, smiled and said, “There is nothing for me to thread.” Umm…so yeah...some
might say that’s a gift that I don’t have to deal with that.
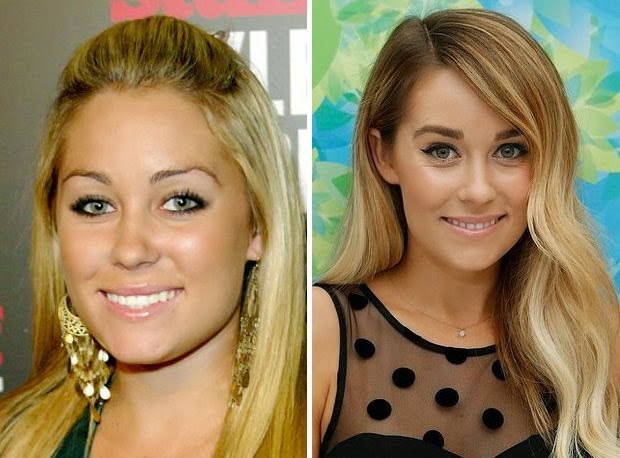 |
| Seriously, just look at Lauren Conrad. Case and point. |
I have always struggled with my eyebrows in terms of how to
get them to look better—and by better, I mean more shapely, more full, and a
little bit darker. I have long been afraid of the pencil, as it can cause such
a dark, severe line (in my younger days, I did not color match to my natural
color very well at all). About 2 years ago, I discovered the company Anastasia
at Sephora. I tried out a blonde pencil and it filled in my thin little
eyebrows nicely. So, I bought it and used it for a year and a half. Then,
Anastasia came out with a brow powder duo. One shade is lighter, and the other
darker. You can actually mix them to get a shade somewhere in between also. I
had the Sephora assistant do my brows for me, and she did a decent job. Ok, so
it seemed easy enough to use a little brow brush and some powder and fill in my
eyebrows. But I still wasn’t going outside of my (thin and short) natural brow
shape. Truthfully, I was a little afraid of looking like a dork with
unnaturally long/full eyebrows by free-handing them. What if my eyebrow shapes
turned out different? What if one arch was higher than the other? There is a
saying I have heard and remembered—something to the effect of, “Don’t ever let
anyone with bad eyebrows tell you shit about life.” Truth!
 |
| Oh, Angelina. |
Recently I found out that Anastasia has eyebrow stencils. I
was super pumped about this—it’s seriously
really hard to screw up with a stencil I assumed, so I ordered a set of
them. I think you get about 5 of them in a pack, so needless to say, I have a
lot of choices for “new” brows. I decided to test the water by starting with
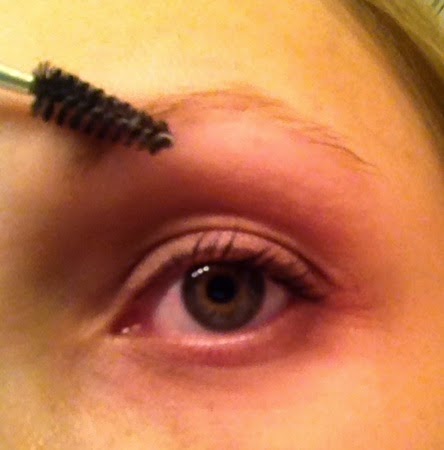
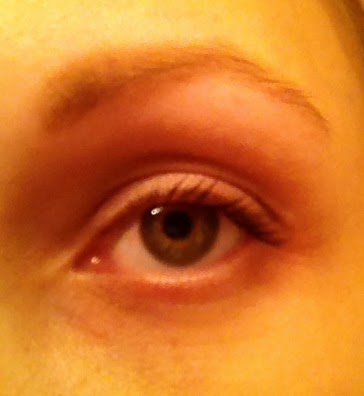
the smallest stencil, the “petite arch.” Here are my before and after pictures,
and the steps I took to get them to look fab.
Materials:
-clear brow gel
-eyebrow spooley brush
-eyebrow powder, pencil, or gel
-cotton swabs (optional)
1. With a spooley brow brush, gently brush eyebrow hairs up
and out to see your natural shape.
2. Next, line up the stencil so that your eyebrow hairs are
in the middle of it. The middle is a good way to go, because if you do too high
or too low, the color stands out and looks a little strange. Believe me, I have
done it! For now, just worry about the first half of the arch. You can adjust
the arch to be higher or lower if you want to. Now, the stencil is actually
longer than my natural brow, so I started the end a little higher up. A good
rule of thumb for where to line up the edge of the stencil is to line up that
dashed black line with the inner corner of your eye.

3. Fill in the entire stencil area with brow powder, pencil,
or gel. Sorry, I don't have another hand to show you a pic of me applying the powder and still holding the camera. Boo hoo! Remove the stencil and look at the brow. Shade as needed in any sparse
areas. I used powder because it is easy to apply in a larger area, and cleans
up easily, but I have found that the staying power is not as good as a pencil
or a gel. Just something to keep in mind.
4. Clean up any loose powder. If you don’t like a particular
edge, you can use the cotton swab to easily clean it up.
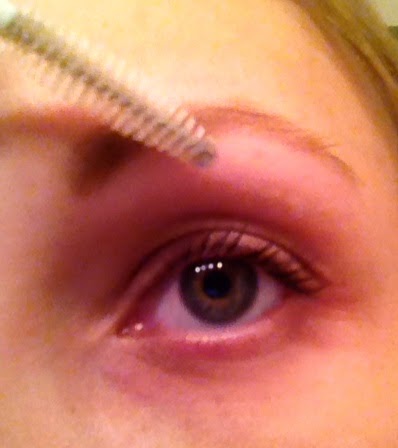
5. Lastly, use some clear brow gel to set the color.
Gently brush eyebrow hairs up and out as you did before.
Ta-da! That’s it! Not so scary at all. The most difficult
part for me is now doing the left eyebrow and making sure the two arches match
and the eyebrows have the same shape ( I also naturally have a great right
arch, but a left arch that does not match it exactly!) But I am sure that
practice makes perfect. Also, I am going to try a brow gel eventually—as I
mentioned earlier, it has better staying power, but the one I have my eye on is
out of stock EVERYWHERE! It is the Anastasia Dipbrow pomade in Blonde.
Seriously, it must be super popular because I can’t get it at Ulta, Sephora, or
even direct from Anastasia’s website. Stay tuned!